Posts on theantiquedjourney.com may contain affiliate links. As an Amazon Associate, I earn on qualifying purchases. You can read the full privacy policy and disclosures here.
Handmade Holiday Decor: DIY Christmas Garland With Vintage Sheet Music
By Rachel
|
Share this post. Share the Journey!
Last Updated on October 10, 2025 by Rachel
Handmade holiday decor at its finest! Deck your halls using this easy DIY Christmas garland with vintage sheet music.
As the holiday season approaches, it’s a great time to start creating DIY decor to make your home feel festive. For me personally, vintage holiday decor is what I absolutely adore. So, to go along with that theme, I decided to craft handmade holiday decor starring this DIY Christmas garland with vintage sheet music. Let’s get in the Christmas spirit with this easy craft project!
A Homemade Vintage Paper Garland for the Holidays
You guys. I’m SO EXCITED for Christmas. Like…this is the most excited I’ve been in years! As I was brainstorming content for this season, the idea of creating something with vintage-looking Christmas music kept coming up so I went with it.
I am so happy with how this Christmas garland turned out. It’s the epitome of vintage Christmas, so let’s get into it!
Materials Needed for a Vintage Paper Christmas Garland
- vintage Christmas sheet music
- red velvet ribbon
- hot glue gun and glue sticks
- metallic craft paint
- small craft paintbrush
- Christmas cookie cutters
- pencil
- paper plate
- paper towels
- scissors
Handmade Holiday Decor: DIY Christmas Garland With Vintage Sheet Music
1. Find Vintage Christmas Music.
The first step in the process is to find a whole bunch of Christmas sheet music if you don’t have any already. There are a few ways to go about this. You can check your local thrift store for old hymnals or piano books or go to a used book store.
If neither of those options work for you, you can do what I did and purchase a bundle of vintage-looking music off of Etsy that came in digital download form. It only cost me $2.00 to have access to about twenty different varieties of Christmas sheet music. So cool!

2. Print Vintage Music.
After the download was complete, I simply printed off how many of each music page I wanted. This is the easiest way to get the look for less and without the hassle!

3. Choose Christmas Shapes.
Next, I needed shapes. So, I went to the kitchen and pulled out my bag of Christmas cookie cutters. These little pieces of metal come in handy for more than just cookies!
I went through the shapes and chose a handful that thought would look pretty on a garland.

4. Trace Christmas Shapes onto Vintage Sheet Music.
Then, using a pencil, I started tracing shapes onto the music. I traced along the inside of each shape but you could trace around the outside and achieve the same results.

There is not really a specific way to do this but I tried to fit as many shapes onto one piece of music as possible to cut down on paper waste.
I chose one shape at a time, traced that one for awhile, then switched to a different shape. This rotation through the shapes made sure I would have enough variety of them on my garland.

Tip: When tracing the shapes, I made sure to trace some of the song titles on a handful of them.
Also, a cute idea I had when doing this was to use a cookie cutter that was themed to the song itself. So, for Jingle Bells, I used the bell cookie cutter!

5. Cut Out Christmas Shapes for Garland.
After I had all of the shapes traced, I cut them out.

Since there are so many shapes, I cut two or three paper sheets at a time. This method did make my fingers sore but it significantly cut down on the amount of time it took!
You will have a big pile of paper shapes when all is said and done.

6. Paint Holiday Garland Shapes.
Once the shapes are all cut out, it’s time to paint them!
I did not have this step in mind when I started this project. However, once I had all the of the shapes cut out, many of them were still too light in color for the look I was going for.
So, keep in mind that this step is not necessary if you don’t want to do it but it really does add depth and contrast to the garland when it’s finished.
To start, I put a small dab of metallic paint on a paper plate.

Now, I didn’t want to completely cover and coat each shape with paint, rather just give a little ‘zhuzh’ to them.
To achieve this, I used the dry brush technique. Basically all you do is get a very small amount of paint on your paintbrush and then wipe off as much excess as possible onto the plate.
Then, as Bob Ross says, “just a hair and some air” to each shape. Simply brush the tips and sides with the metallic paint and then dust a few small areas in the center.

This technique took a little practice but it became easier as I went along.
Just put on some Christmas music and paint away until you have all the shapes done!

7. Let Christmas Shapes Dry.
Leave the shapes for about 20 minutes to ensure each one is all the way dry. While you wait, this is a good time to plug in the hot glue gun and let it heat up.

8. Hot Glue Shapes on Christmas Ribbon.
The last step is to glue your shapes to the velvet ribbon to create the garland itself!
You will first want to figure out how long you want your Christmas garland with vintage sheet music to be. I unrolled the red velvet ribbon until it looked long enough. My garland is roughly 5 feet.
Then, I stacked the shapes accordingly, putting all of the bells in a pile, stars in a pile, etc…This way it’s easy to just grab and glue.

Now, think about how you want the garland to look. Do you want to do a random order of shapes? A pattern of two shapes? A pattern of three shapes?
Even though I cut out five different shapes, I ended up using just three of them.
I started with the bell by placing a small dab of hot glue on the ribbon and pressing down firmly.

I repeated this process with the star, which is my second shape in the pattern, spacing them about an inch apart.

And then with the ornament, as well.
Repeat this same process for each shape.

If you are happy with the length when you reach the end of the ribbon, simply cut the tag end with a scissors.
If you want your garland to be a bit longer, just keep gluing shapes until it’s long enough.

Holiday DIY: Crafting a One-of-a-Kind Christmas Garland
With that, the garland is complete!
I did take a minute to go through and pull off any hot glue strings to make sure the garland looked all nice and neat.

Where to Display a Vintage Christmas Garland
There are many options when it comes to displaying your homemade garland.
When I think of garlands such as this one, my mind naturally goes to wrapping it around a tree. I made mine specifically to fit on a small Christmas tree that will be decorated in my entryway.

Other places you could display a paper garland include:
- draped across a doorway
- over a mirror
- wrapped around a pole or post
- hang over the top of a hutch
- wrap it around a wreath

As with most of the DIY projects that I tackle, they take on a mind of their own. The project evolves and grows as I go along but that’s the creative process!
So, when you think your project is going awry, it’s most likely not but is doing something better than expected. Just go with it!

I’m truly so happy with how this Christmas garland turned out.
It’s exactly what I had envisioned in my head. When placed on a Christmas tree, the garland looks so much prettier than I had dreamed it would, especially with a string of fairy lights.

Bonus Christmas Project with Leftover Paper Garland Shapes
If you are like me, you will most likely have leftover paper shapes.
An easy way of using them up is to glue a twine loop to the back of them to create either ornaments, gift toppers or gift tags!
It’s like two projects in one 🙂

Closing Tidbits on Handmade Holiday Decor: DIY Christmas Garland With Vintage Sheet Music
May this Christmas garland with vintage sheet music inspire you to create beautiful, handmade decor for your home this holiday season. With all of the hustle and bustle, it’s important to remember to slow down for a minute and give yourself room to breathe.
Making decor that can be used year after year is not only eco-friendly but it also gives you a sense of accomplishment. Understanding that you can fabricate a beautiful home, with your own two hands, for less money, is amazingly rewarding. Be encouraged to create this season, finding a sense of peace along the way.

Leave me a comment! Do you like making DIY holiday decorations? I love hearing from you!

Just click the red button in the left corner to save this idea for later!

If you are new here, I’m Rachel, the writer and content creator here at The Antiqued Journey. I’m so happy to have you! I encourage you to stop by the ‘about me’ page to get to know me a little more.
Here on the blog, you will find loads of inspiration for decorating with vintage and antique decor, simple DIY crafts and many thrifting adventures. If that interests you, I invite you to sign up for my e-mail. You will receive a free digital download as a thank you!
Follow Along with The Antiqued Journey
- The Antiqued Journey shop
- Follow me on LTK for curated home decor finds!
Other Holiday DIY Posts to Enjoy

DIY Christmas Gift Tags with Stamps
Want to decorate with vintage finds more confidently?
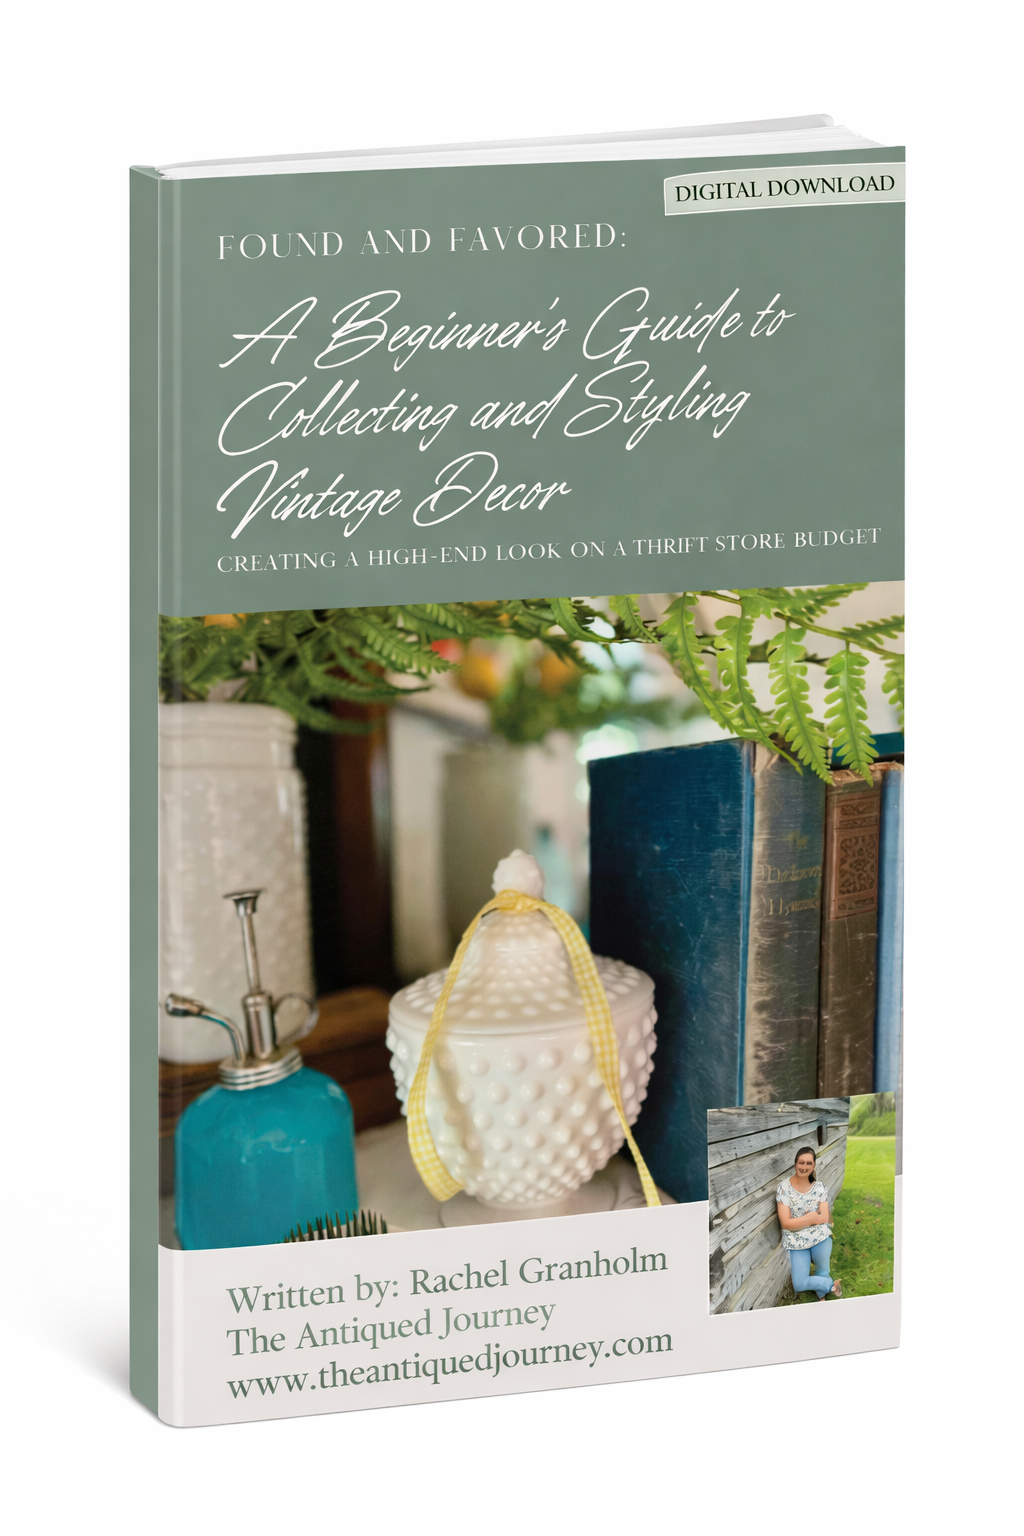
I created a beginner-friendly, 34-page digital guide to help you collect, identify, and style vintage decor with intention—without overspending.

Hey! I’m Rachel!
I’m so glad you are here! Old things are my jam. Antique malls and thrift stores are my happy places.
Here on the blog I love to share my excitement, knowledge, and ideas about all things antique, vintage, and thrifted. Let’s journey together!
Want to style vintage decor with confidence?
Get the beginner’s guide that will save you money and help you find real treasures.
Sign me up for the
Journey!
Sign up for free antique and vintage inspiration, DIY projects, and thrifting tips straight to your inbox.


35 Comments. Leave new
Rachel this is GORGEOUS! I love that you used cookie cutters for the forms, brilliant as usual 🙂 Happy Thanksgiving friend! xx Tanya @twelveOeightblog
Hello!
Thanks so much, Tanya!! This one took me a few days because…like…heaven forbid I have a solid chunk of time to work on it 🙂 Thanks for coming by today!! Happy Thanksgiving, as well!! Enjoy!
Love your garland. The vintage music sheets are gorgeous! Happy Thanksgiving, Rachel!!!
Hey Debra!
Thank you!! This was fun 🙂 Happy Thanksgiving to you, as well!!
Oh Rachel! I LOVE THIS IDEA plus the extra ways to decorate with this sweet garland!
Thank you!!
Hi Rachel! I love this sweet garland you created with cookie cutters! Vintage music and velvet just go together! Happy Thanksgiving!
Hello!
Thank you!! This was a fun one to make and something new for me to try!! Happy Thanksgiving to you, as well!!
Rachel!!!
I can not tell you how much I love this!!! I have made a lot of things using music sheet paper and never thought of this!!! Love it and I think I know a perfect place where I can use this!!! Thanks so much for the inspiration!!! Pinned and shared on Fb!!
Happy Thanksgiving!!!!!
Hugs,
Deb
Hey Deb!
Thanks so much!!
I’m so happy to help with Christmas decor 🙂 This was a new thing to try this season but am so happy with how it turned out! Let me know how your garland turns out. Happy Thanksgiving to you, as well!
[…] To keep things cohesive and simple, I just used the rest of my flocked trees and continued the berry garland. […]
[…] Christmas Garland with Vintage Sheet Music […]
Just a hair and some air – gotta love Bob Ross. Your garland turned out lovely Rachel. Happy Holidays friend!
Thanks so much!! To you, as well!
This is so cute Rachel. I love anything with sheet music and this looks great on your tree. Great job. I love the Bob Ross reference. 🙂 XO- MJ
Thanks so much!! Hope you had a lovely day!
[…] Wednesday I shared a post on how to make a Christmas garland using vintage sheet music. With just a few simple materials and some paint, you can transform regular old paper into a […]
The garland is adorable! And I had no idea you poured candles, I bet they are amazing 🙂
Hello!
Thanks, Melanie!! Yes…I’ve poured candles for a few years now and recently started selling seasonal lines. It’s so fun!
I am so excited about the way these came together, Rachel. They’re so cute! I love the way you aged them with the gold paint and how they can be used as ornaments, on a garland, or as gift tags too. That is so smart and creative! Loving and pinning as always sweet friend, CoCo
Hello!
Thank you!! These were so fun to make 🙂 Hope you had a lovely Thanksgiving, friend!
Rachel this is a truly gorgeous garland. Thank you so much for the delightful tutorial!
Hi Laura!
Thanks so much!! This was so fun to make 🙂 Thanks for coming by today!
Rachel, I just love this. The sheet music is so charming and the crate you put the tree in was the perfect box for the tree. Thanks for sharing.
Thanks so much, Wendy!
Love that you used cookie cutters as templates, Rachel, brilliant idea!
Don’t forget to join us over at the Creatively Crafty Linky Party every Wednesday through Sunday
https://creativelybeth.com/creative-crafts-linky-party/
Followed and Pinned!
Creatively, Beth
Thanks, Beth! Merry Christmas!
[…] Christmas Garland with Vintage Sheet Music […]
[…] ribbon, or greenery to any type of vintage collection, especially milk glass, you have instant Christmas […]
[…] Vintage Sheet Music Garland […]
[…] I simply placed a lace tablecloth inside to act as a tree skirt. For tree decorations, I wrapped my DIY garland with vintage sheet music around it, hung some rusty jingle bells using twine, and finished it off with a strand of fairy […]
[…] Vintage Christmas Garland DIY […]
[…] interwoven in a greenery garland […]
Simple and elegant!
Don’t forget to join us over at the Creatively Crafty Linky Party every Wednesday through Sunday
https://creativelybeth.com/creative-crafts-linky-party-2/
Pinned!
Creatively, Beth
Thank you!