Posts on theantiquedjourney.com may contain affiliate links. As an Amazon Associate, I earn on qualifying purchases. You can read the full privacy policy and disclosures here.
DIY Pumpkin Decor with Wooden Rosettes
By Rachel
|
Share this post. Share the Journey!
Last Updated on July 23, 2025 by Rachel
Learn how to make the cutest DIY pumpkin decor with wooden rosettes!
I was reading one of my favorite magazines earlier this month and there was a whole section in there about fall crafts. Those few magazine pages inspired this DIY pumpkin decor with wooden rosettes that I’m sharing today. It’s extremely easy with minimal materials needed, making this craft very affordable. This little trio of pumpkins brings such fall cheer to your home!
The Joy of DIY: Adding Homemade Charm to Your Fall Decor
You guys, by far, this DIY is one of my favorite decor projects that I’ve ever done.
This delightful fall craft took about two hours to complete from start to finish. You can find inexpensive supplies for this project from thrift stores or the dollar store. Look for weekly sales at your local craft store as well. All in, I only spent $8.00 on supplies for this craft!
The two smaller rosettes I found at my local thrift store for .99 cents a piece, saving me at least $8.00. I’m super excited to share how to make these with you so let’s jump into it!
Gather Supplies for Wooden Rosette Pumpkins: DIY Fall Decor
- 3 wooden rosettes ( 1 large, about 4.5 inches and 2 small, about 3 inches )
- 3 sticks or twigs
- craft paint in white, brown, green, yellow, or orange
- thin ribbon
- paint brushes
- paper plate
- hot glue gun and glue sticks
- sandpaper
- work surface cover such as paper towels or an old sheet or towel
*Before you start, go outside and find some small sticks or twigs of varying thicknesses that you can use for the stems. You will need 3 in total.*
DIY Pumpkin Decor with Wooden Rosettes Tutorial
1. Paint the Rosettes.
The first thing to do is wipe the rosettes down with a damp towel or rag to remove any debris.
Then, decide which paint colors you would like to use. Any color goes! It’s up to you as to how you want your pumpkins to look, so you do you!
I chose neutral colors in fall hues. The easiest way I have found to use my craft paints is to squeeze a dollop onto a paper plate. It’s durable and makes for easy clean up!

It doesn’t matter which rosette you start with. I started with the larger rosette and used my favorite white color of craft paint.
I did one coat of paint on this one, then as it was drying, moved on to the next rosette.

For the first smaller rosette, I chose a pretty olive green color. It ties in with my fall decor this season and reminds me of those heirloom pumpkins you can find at Trader Joe’s!
Again, I gave this one a first coat then let it dry and moved on to the third rosette.
For the last rosette, I mixed brown, yellow, orange, and white craft paint to try and get a copper-like tone.
It took some mixing to get the color I wanted but succeeded in the end!

Each rosette needed two coats of paint to achieve the look I was going for. You might need to do only one coat but you also may need three coats. It all depends on the type of wood it is and the look you are after.
You can paint the back of each rosette if you like, which is what I did, but this step is not necessary if you are short on time.

2. Let the Rosettes Dry.
After you have finished painting, you need to let the wooden rosettes dry completely. I left them to dry for around an hour.

3. Distress the Edges.
The next step is to distress the edges of each rosette. You can use any grit of sandpaper to do this. All I had on hand was 150 grit and that worked just fine.
There is really no rhyme or reason to this process. I sanded each edge and corner first until I had my desired look. You can sand less or more depending on your preference.

Once the edges were sanded, I moved to the front of the rosette. Again, sand as lightly or as thick as you would like.
Repeat this same process with the other rosettes.
Tip: Plug in your hot glue gun now so that it’s hot enough for the next step!

4. Break the Stick to Size.
With the sticks that you found earlier, you are going to break each one so they are a stem-like size, however that is for you. Everyone envisions things differently!
As an example, I used part of the twig below for my green rosette.
Tip: You don’t want the stem to be too tall otherwise it won’t stay upright. Also, if you can find a twig that has a bend or curve in it to use as one of the stems, it makes the rosette really come to life!

I twisted the bottom part until it came detached from the rest of the stick.
Then, I pulled small bark pieces off of the bottom of it so that the stick would sit semi-flat on the rosette.

5. Glue the Stem.
Then, to adhere the stem that you just prepared, squeeze a little dab of hot glue right on the top of the rosette.

Place the stick on the hot glue and hold for about 10 seconds.

If the stick stays in place without you holding onto it, you are good to go!

Repeat this same process with the other two rosettes.
To mix it up, try using sticks that are fat as well for a ‘squattier’ looking pumpkin. I did this with the white rosette as seen below.

Here is the stick for the brown rosette. It is super crooked and gnarly, making it the perfect stem for a pumpkin!

6. Cut the Ribbon.
The next step is to cut the ribbon. I cut a piece that was roughly 3 inches long.

7. Tie the Ribbon On.
Take that ribbon that you just cut and tie it around the stem of the pumpkin.
You can either tie it once or tie it around twice to create a knot.

If the ribbon is too long for your taste, simply take a scissors and trim each end. Repeat this same process for the other two rosettes.
It’s fun if you use two or even three different kinds of ribbon. I used a lace ribbon on the brown rosette.
The mix of the plaid and lace ribbon is so lovely!

Simple DIY Pumpkins for Rustic Fall Decor
You have a finished trio of wooden rosette pumpkins!

These beauties can be displayed just about anywhere.
Try them:
- on a mantel
- on an entryway table
- placed into a vignette
- all by themselves
I simply placed some eucalyptus stems in and around them for a pretty fall display on my dresser.

Closing Tidbits on DIY Pumpkin Decor with Wooden Rosettes
Isn’t that just so fun?! I hope this encourages you to create these DIY wooden rosette pumpkins for fall! These pumpkins can really mesh well with any decor style. The clean lines lean more modern yet the rosette itself makes me think of an old vintage farmhouse.
By being able to customize the paint colors as well as the ribbon, you will be able to create a set of rosette pumpkins that fit your style, your home, and most importantly, your heart.

Let me know in the comments below what colors you would choose to use for your project and where you would display them. I would love to know!

Just click on the red button in the left corner!

If you are new here, I’m Rachel, the writer and content creator here at The Antiqued Journey. I’m so happy to have you! I encourage you to stop by the ‘about me’ page to get to know me a little more. Here on the blog, you will find loads of inspiration for decorating with vintage and antique decor, simple DIY crafts and many thrifting adventures. If that interests you, I invite you to sign up for my e-mail. You will receive a free digital download as a thank you!
Follow Along with The Antiqued Journey
- The Antiqued Journey shop
- Shop hand-picked home goods in my LTK shop
Other Fall Posts to Enjoy
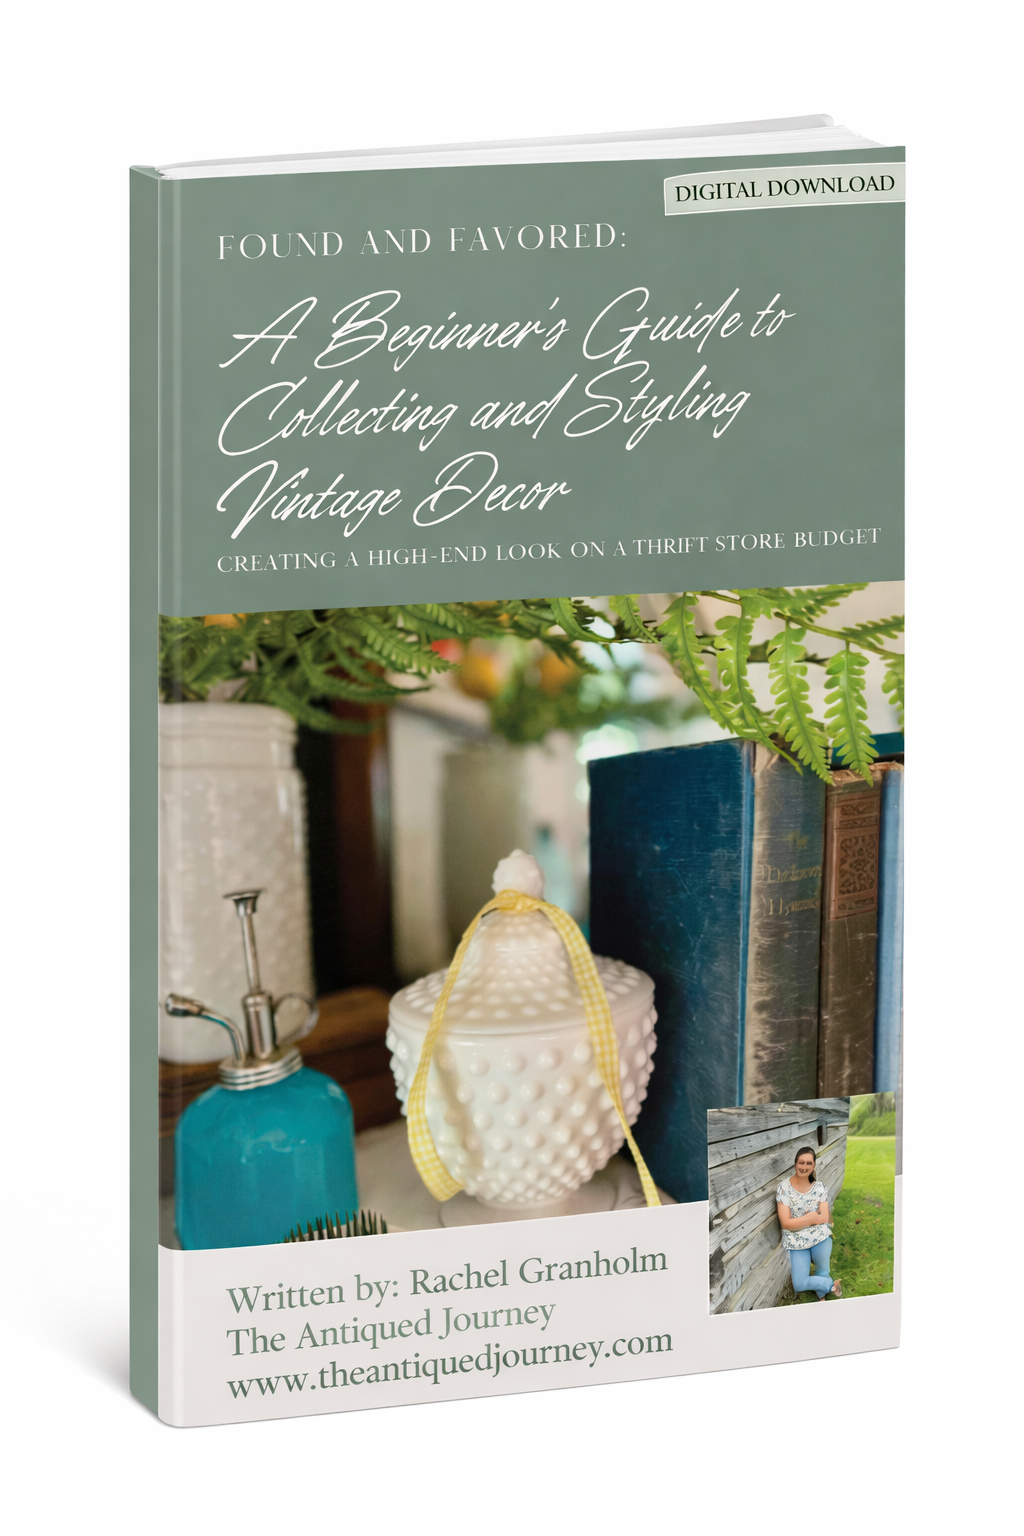
Want to decorate with vintage finds more confidently?
I created a beginner-friendly, 34-page digital guide to help you collect, identify, and style vintage decor with intention—without overspending.

Hey! I’m Rachel!
I’m so glad you are here! Old things are my jam. Antique malls and thrift stores are my happy places.
Here on the blog I love to share my excitement, knowledge, and ideas about all things antique, vintage, and thrifted. Let’s journey together!
Want to style vintage decor with confidence?
Get the beginner’s guide that will save you money and help you find real treasures.
Sign me up for the
Journey!
Sign up for free antique and vintage inspiration, DIY projects, and thrifting tips straight to your inbox.


35 Comments. Leave new
Cool!!
This is so clever! I’d love to include it in a pumpkin collection I am sending to my followers. Please let me know if you’d be interested!
Hi Kristin!
Thanks so much!!! I would be honored if you would…that’s so kind of you. Thank you!!
Such sweet little pumpkins! Love this DIY!
Hi Donna!
Thanks so much!!! This was such a fun craft to make!
This is such a fun craft! I come across these little architectural salvage pieces all the time and now – I know what I can do with them! Great post Rachel!
Thank you!! This was such a fun craft to make and SO easy!! You could even find make like little Santa’s or Christmas trees from them for Christmas!
Omgoodness these are so adorable!! Love the twig stems – especially the bent one😊 Pinned!
Hi Cindy!
Thank you!!! The bent one made me giggle because it was like…the perfect stem 🙂
Rachel, these are adorable! What a fun fall idea! I’d love to share them this weekend in Saturday’s weekly roundup!
Hey Kim!
Thank you!! That would be amazing…I appreciate that so much! Hope you have a lovely weekend!!
LOVE the colors you selected for this Rosette Pumpkin Trio, Rachel!
I’d love for you to join us over at the Creative Crafts Linky Party every Wednesday through Sunday
https://creativelybeth.com/creative-crafts-linky-party/
Followed and Pinned! 🙂
Creatively, Beth
Hi Beth!
Thank you!!! I’ll check it out…thanks for the invite!!
Your rosette pumpkins are so adorable!!! LOVE them. I’ll be featuring this post at All About Home Monday evening. Thanks so much for coming by to share all your fun stuff!
Hey Debra!
Thank you!! I’m thrilled. These were so fun to make. Hope you have a lovely day!
Thanks for sharing over at the Creative Crafts Linky Party! We are featuring you this week!
Hi Beth!
Thanks so much! I appreciate it!!!
[…] crafts inspiration is here with these DIY wooden rosette pumpkins that Rachel with the Antiqued Journey is sharing. Y’all, this is one of our favorite home décor projects. It’s extremely easy with […]
[…] DIY Wooden Rosette Pumpkins […]
These wooden pumpkins are so awesome, Rachel! Girl you are on fire with these fall decorations this year. I love them all! Hugs, CoCo
Hahahaha!! Thank you!! I’ve been having fun 🙂 Guess I’ve been inspired lately which isn’t always the case. These are SO easy! You could totally paint these with pinks and greys to match your decor too!!!
[…] 7 Textures For Fall Decorating // DIY Wooden Rosette Pumpkins […]
Well, how darn cute are these? Another fun project that I’m adding to my “must-try” list. Thank you for sharing, Rachel.
Thanks, Jen!!!
[…] DIY Wooden Rosette Pumpkins […]
[…] DIY Wooden Rosette Pumpkins […]
These are adorable Rachel! I love architectural pieces and these are a great seasonal touch. Great tutorial. Thanks for the inspo friend! XO- MaryJo
Hi!
Thank you!! These are still my all time favorite DIY decor pieces 🙂 Super easy!!
[…] fall decor ideas without using pumpkins DIY wooden rosette pumpkins […]
[…] Fall Decor Ideas Without Using Pumpkins DIY Wooden Rosette Pumpkins […]
[…] of DIY, have you seen these rosette pumpkins yet? Rachel from The Antiqued Journey shared a really simple and totally doable idea if […]
[…] Wooden Rosette Pumpkin DIY […]
[…] DIY Wooden Rosette Pumpkins 7 Textures For Fall […]
[…] DIY Wooden Rosette Pumpkins […]
[…] DIY Wooden Rosette Pumpkins […]