Posts on theantiquedjourney.com may contain affiliate links. As an Amazon Associate, I earn on qualifying purchases. You can read the full privacy policy and disclosures here.
Easy Farmhouse DIY Valentine Decorations
By Rachel
|
Share this post. Share the Journey!
Last Updated on January 6, 2026 by Rachel
Spread the love with these easy farmhouse DIY valentine decorations!
Valentine’s Day is a day all about love! Love for a significant other, love for your pet, love for your family, love for self, or love for nature. You can also infuse love into your home by incorporating decor that is unique to you and that makes each space feel warm and inviting, such homemade decor. These easy farmhouse DIY valentine decorations will hopefully do just that!
DIY Farmhouse Valentine Decorations
This post is separated into 2 different projects so you can pick one or both to create. Both Valentine’s day decor DIY’s are simple and understated and will add a cozy farmhouse touch to your home.
Follow along and be inspired to create!
First Project: DIY Heart Jars for Valentine’s Day Decor
Materials for Heart Jars:
- 2 different sized glass jars
- DecoArt Americana craft paint in light pink, grey, and white
- craft paintbrushes
- foam brushes
- parchment paper
- 1 pack small wooden hearts
- hot glue gun
- paper plates
- sandpaper

Step 1: Cover Your Surface and Paint Jars.
To cover your work surface, roll out a decent sized piece of parchment paper. Using this type of paper when using craft paint helps your painted objects not stick to it.
Once you have that ready, go ahead and start painting your jars.
Tip: I used a foam brush for this to make the finish look smooth with less streaks.

I painted one coat on the large jar first with white paint and let that dry while moving to the smaller jar for the first coat of grey paint. You will have to see how your jars look after that first coat dries but I needed to apply 3 coats of paint to achieve the look I was going for.
Let the jars dry completely between coats.
Tip: Painting the rim and the lip inside of the jar will help to achieve a cohesive look on your DIY farmhouse valentine decorations.
Step 2: Paint the Wooden Hearts.
Space the wooden hearts out on top of the parchment paper.
Using a paper plate, squeeze whatever color of craft paint you have chosen onto it and then dip a small amount of paint on your paintbrush.
Start by painting the sides of all the hearts and then go back and paint the tops. I needed to do two coats of paint on the hearts to get them to look finished but again that is up to you and what you prefer.
Let those dry completely.

Step 3: Distress the Jars and Hearts.
After all the paint dries, you can start distressing the jars and wooden hearts using sandpaper.
Tip: I used 150 grit sandpaper because it is super fine but use what you would like.

There is not really any specific way to do this step other than applying light pressure to the sandpaper and rubbing it randomly over the jars. This will pull off little bits of paint here and there.
It will also give your DIY Farmhouse valentine decorations a rustic appearance!

You can do as much or as little distressing as you would like. You can also distress the hearts by rubbing the sandpaper over the edges of them. This will give each heart a rustic appearance and slightly reshapes them so they look a little imperfect.
Tip: I found it easier to lay the sandpaper flat on the surface and lightly rubbing the heart across it rather than holding the paper in one hand and the heart in the other.
Step 4: Glue the Hearts to the Jars.
Let your glue gun heat up for a good 20 minutes.
While you are waiting, figure out where you would like your hearts to be placed on each jar.

You can do polka dot style by gluing them all over, you can do diagonal lines all the way around, you can do zig zag lines…this is your creation so let your creativity take over!
I chose to do 2 horizontal lines all the way around on the large jar and 1 horizontal line all the way around on the small jar for a simple, clean look.
Put a small amount of hot glue on the back of the heart, place on the jar, and hold for 10 seconds. Repeat until you have all of your hearts glued on.
Tip: You may want to use a tape measure to help you keep the lines of hearts straight while gluing. If they do go crooked, they are fairly easy to pull off and re-glue.
Let the hot glue dry all the way and then go back and pull off any glue strings that might be lingering.

Step 5: Style the Valentine Jars.
The beauty about these cute jars that you have just created are that they are multifunctional.
You could style them for use as vases for some pretty Valentine’s flowers, use them as a jar for tea light candles, fill them with water and place a floating candle in each, use them as decor on a bathroom counter with some faux eucalyptus branches, give them away as a gift, or you could even create your own soy wax candles with these jars! See my tutorial for that here.

These jars will add such farmhouse charm to your home during this Valentines month. My hope is that they bring you joy in whatever way you choose to use them.
Second Project: DIY Heart Garland for Valentine’s Day Decor

Materials for DIY Heart Garland
- 1 pack small wooden hearts
- twine
- hot glue gun
- DecoArt Americana craft paint in light pink and white
- craft paintbrush
- parchment paper
- scissors
Step 1: Paint the Wooden Hearts.
Cover your work surface with parchment paper.
You have the option to use one color of paint for the hearts or multiple colors and do a pattern. I divided my hearts into 2 piles and did 2 pink hearts for every 1 heart.
Then I used a craft paintbrush and painted them, let that side dry, then flipped them over and painted the back sides. You are going to want to paint both sides because, since its a garland, both sides will be seen when you hang it up.
You may need to do 2 coats of paint on the hearts depending on the look you are going for. Let the hearts dry completely before continuing.
Tip: This would be a good time to plug in the hot glue gun and let it heat up.

Step 2: Measure the Twine.
It will be up to you as to what length you would like your garland to be. You could separate the hearts out into 2 shorter garlands or do 1 long garland.
After the hearts are dry, space them out evenly across the twine. This doesn’t have to be perfect…just eyeball it and call it good!
Step 3: Glue the Hearts on the Twine.
Leave about 2 inches at the start of the twine. I found this part easiest if you put something heavy on the starting end of the twine, like a paperweight, so it is braced and not moving around so much as you are gluing.
Then, squeeze a small drop of hot glue in the middle of one heart, place the twine right on top of the glue, and then place a heart of the same color on top, like a heart sandwich! Apply pressure for a few seconds.
Continue this until you have all the hearts adhered and sandwiched together to the twine. Let the glue dry, then go back and pull off any glue strings and cut off excess twine on the ends.

Display your Valentine’s Day Decor Garland

Now you get to display your pretty garland! Some ideas for hanging up your garland include:
- across a fireplace mantel
- draping it across the top of some windows
- wrapping it around a post
- across a long shelf
- weave it into a faux wreath and hang it on your front door
Closing Tidbits for DIY Farmhouse Valentine Decorations
These DIY farmhouse Valentine decorations are such simple and inexpensive ways to wrap your home with adoring decor. Both of these DIY projects today were created with you in mind in the hope that they will help you spread love to others.
I hope you choose to embrace this season of love and be inspired to create along the way.

Follow Along with The Antiqued Journey
Pinterest | Facebook | Instagram | LTK | Amazon


If you are new here, I’m Rachel, the writer and content creator here at The Antiqued Journey. I’m so happy to have you! I encourage you to stop by the ‘about me’ page to get to know me a little more.
Here on the blog, you will find loads of inspiration for decorating with vintage and antique decor, simple DIY crafts and many thrifting adventures. If that interests you, I invite you to sign up for my e-mail. You will receive a free digital download as a thank you!
Other Valentine’s Posts to Enjoy

Valentine’s Table with Vintage Transferware
Want to decorate with vintage finds more confidently?
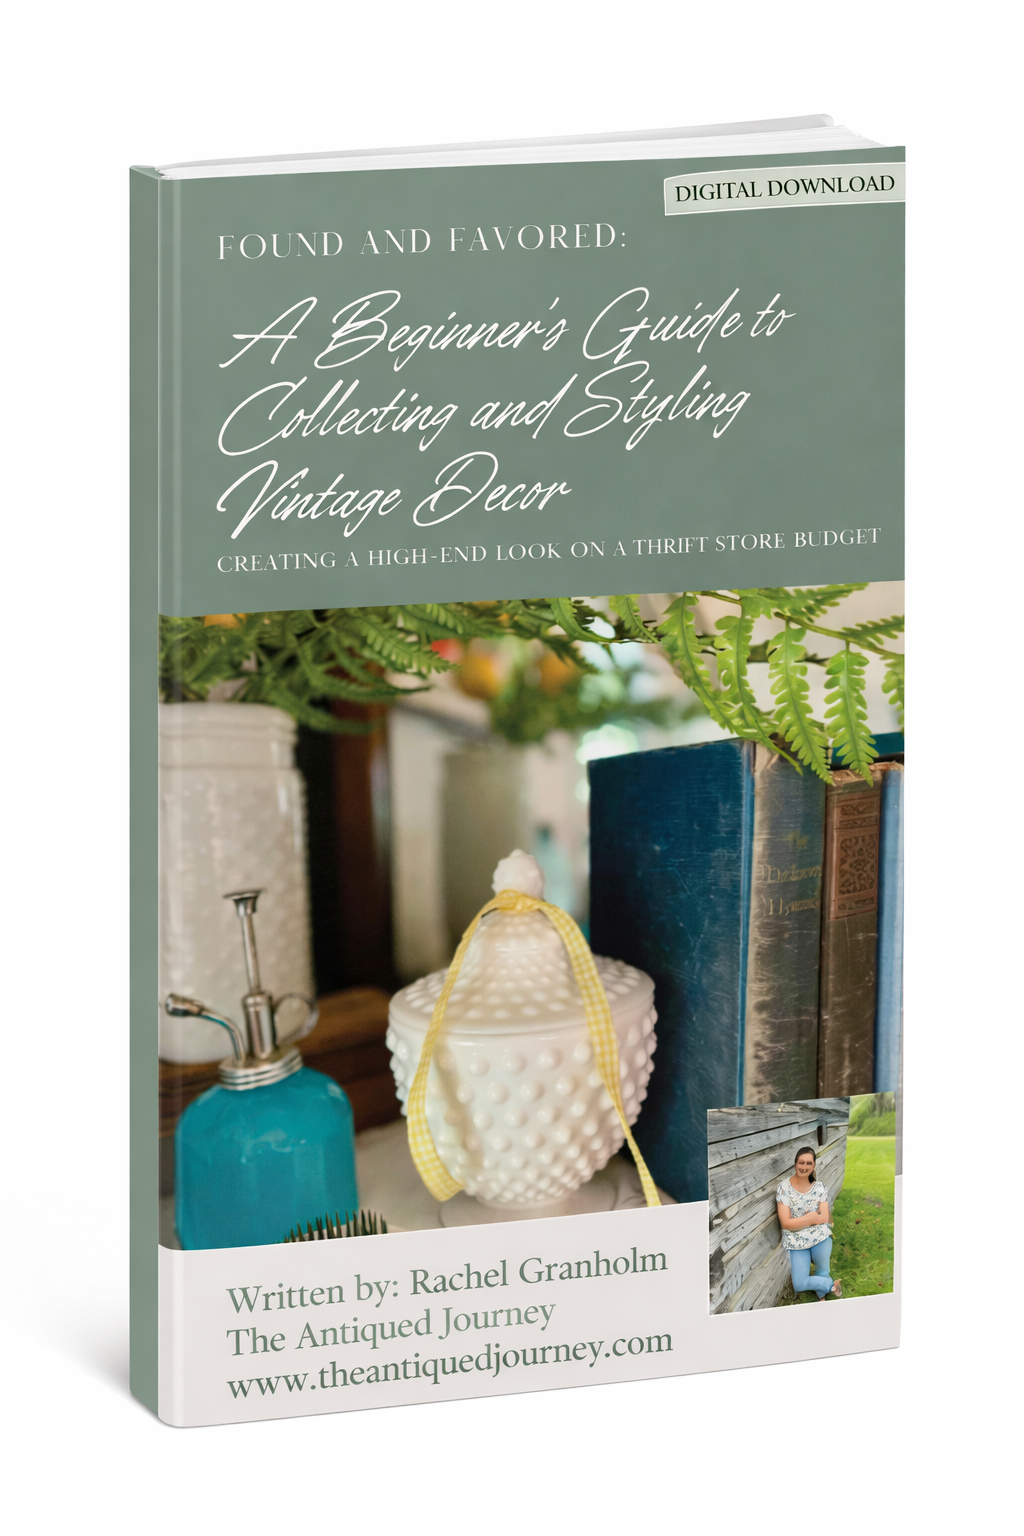
I created a beginner-friendly, 34-page digital guide to help you collect, identify, and style vintage decor with intention—without overspending.

Hey! I’m Rachel!
I’m so glad you are here! Old things are my jam. Antique malls and thrift stores are my happy places.
Here on the blog I love to share my excitement, knowledge, and ideas about all things antique, vintage, and thrifted. Let’s journey together!
Want to style vintage decor with confidence?
Get the beginner’s guide that will save you money and help you find real treasures.
Sign me up for the
Journey!
Sign up for free antique and vintage inspiration, DIY projects, and thrifting tips straight to your inbox.


6 Comments. Leave new
[…] life over here you guys. It literally has taken me over two weeks to come up with my Valentine’s decor. It’s been so stinking cold for two weeks straight and my creative juices have just not been […]
[…] Create more DIY Projects and DIY Farmhouse Valentine Decor. […]
[…] more great pictures and complete directions on how to make these mason jars with hearts, visit THE ANTIQUED journey. Plus a bonus wood heart garland included in her […]
[…] DIY Farmhouse Valentine Decorations […]
[…] DIY Farmhouse Valentine Decorations […]
[…] next item I added was this wooden heart garland that I made a few years ago. It reminds me of candy […]