Posts on theantiquedjourney.com may contain affiliate links. As an Amazon Associate, I earn on qualifying purchases. You can read the full privacy policy and disclosures here.
Natural Christmas Decorations: DIY Star Anise & Clove Ornaments
By Rachel
|
Share this post. Share the Journey!
Last Updated on December 4, 2025 by Rachel
Impress guests and reduce plastic consumption with these eco-friendly DIY star anise & clove ornaments this holiday season! These natural Christmas decorations add elegance to any tree.
The holiday season has arrived! And, with it, comes the festive desire to decorate our homes in beautiful yet unique ways. But, instead of relying on store-bought ornaments, why not add a handmade touch of nature to your Christmas decor? Join me for this budget-friendly project on how to create your own natural Christmas decorations using DIY star anise and clove ornaments for a minimal and neutral aesthetic!
Warm & Spicy Christmas Decor: DIY Clove & Star Anise Ball Ornaments
The beauty of nature can be found in every aspect of our lives, especially during the holiday season.
In this post, we’ll explore how to make natural decorations, specifically star anise and clove ornaments! These simple and fragrant creations will not only add rustic charm to your home but also serve as a sustainable and environmentally-friendly alternative to mass-produced ornaments.
Let’s spice up our holiday decor with delightful aromas and learn how to create these stunning ornaments, step by step. This DIY will allow you to save money and create a Christmas tree that is one-of-a-kind. Let’s get into it!
Minimalist Christmas: Neutral Christmas Tree Decorations
Hello, guys! Welcome, or welcome back, to the blog! It’s so great to see you.
A month or so ago, as I was planning my Christmas decor and aesthetic for this season, I was super inspired by more neutral and rustic looking decorations. Think brown, green, cream, pale gold, and brass.
And, as such, I wanted to create some ornaments to go along with that theme for my Christmas tree. It took me forever to come up with this idea to use star anise and cloves but I am in love with how they turned out. These ornaments would honestly go well with any Christmas theme plus they smell SO good.
I’m very excited to share this fun holiday craft with you. I hope it encourages you to create your own!

Materials Needed for Eco-Friendly Christmas Ornaments
Steps Involved: 3
Time to Make 3 Ornaments: 4 Hours
*I’ve linked everything below in green for easy shopping*
- foam craft balls (I used 2.5 inch balls but you could use smaller or larger ones)
- hot glue gun and glue sticks
- star anise
- whole cloves
- brown craft paint
- craft paintbrush
- toothpicks
- floral foam
- thin velvet ribbon
How to Make Natural Christmas Decorations: DIY Star Anise & Clove Ornaments
As always, this step-by-step tutorial is meant to be a guide. Feel free to tweak or modify things as you see fit!
I will preface the tutorial by mentioning that it took me way longer than expected to make three ornaments. Because I had never made these type of ornaments before, the first one took me two hours! So, prepare in advance that, to get the look right, expect to spend a good day making these. Put on some fun Christmas music and go to town!
1. Paint the Foam Balls.
The first step is to paint the foam balls brown. This will ensure that no white will be seen through any small gaps.
To prep the foam balls for paint, I stuck a toothpick into the bottom of each one and then stuck them into a block of floral foam…they look like cake pops!
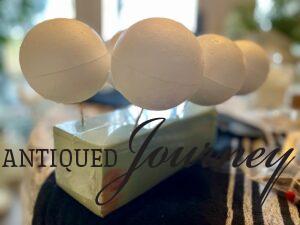
I simply painted one foam ball at a time using brown craft paint.
After each one was done being painted, I stuck it back in the floral foam to dry.
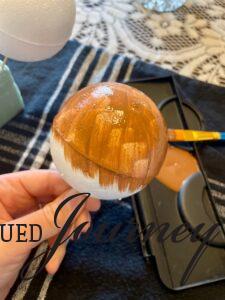
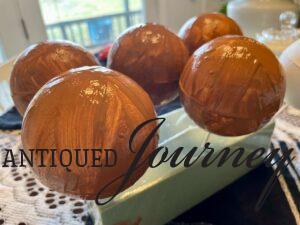
Next, after all of the foam balls have been painted, they will need to dry all the way before continuing.
It took my foam balls roughly an hour to dry so, you can clean your house while you are waiting 🙂
2. Glue on Velvet Ribbon.
The next step is to hot glue on a velvet ribbon. This is the hanger that will allow your ornament to actually hang on the tree.
To do this, I measured and cut a roughly 5 inch piece of ribbon and folded it in half.
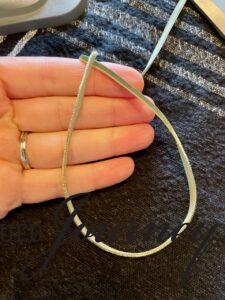
To attach the ribbon to the ball, I squeezed a dime sized amount of hot glue on the very top of the ball. Then, I pressed both ends of the ribbon onto the glue.
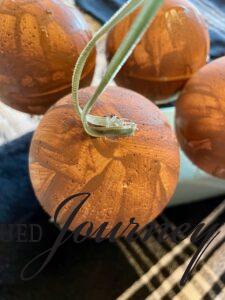
To cover up the ends of the ribbon, simply glue star anise around the base of the hanger and it will look super clean!
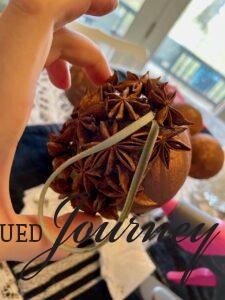
3. Glue Star Anise and Cloves to Foam Ball.
From here, it’s the process of gluing star anise and cloves around the foam ball.
One would think this is a simple process but there is actually some thought involved on how and where to glue the natural items. Here are the steps I followed as well as some helpful tips for actually putting the ornament together.
Work in a One Small Area at a Time.
For me, it was overwhelming looking at the entire ball.
Instead, I chose to squeeze hot glue in one small area at a time. Working in achievable chunks made the whole process seem less daunting.
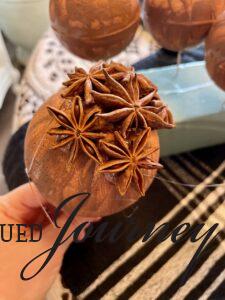
Glue on Star Anise Like Puzzle Pieces.
When gluing the star anise, there is some skill involved.
Ideally, you want there to be as small of a gap as possible between each piece of star anise. So, after gluing one piece of star anise, I dug through the bowl to find another one that would fit snuggly up against the one prior.
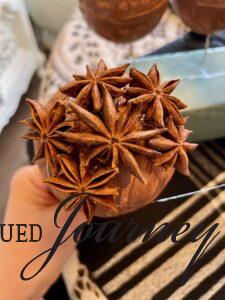
Fill in the Gaps with Cloves.
After the star anise is securely glued down in each section, go back and fill in any big gaps with whole cloves.
Ideally, you can already use the hot glue from the star anise if it hasn’t dried. But, if the hot glue has dried, just squeeze a tad more glue into the holes.
I found that two whole cloves fit nicely between each piece of star anise.
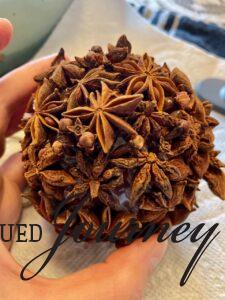
From here, it’s rinse and repeat these steps until your ornament(s) are completed!
As you get near the end of each ornament, it’s important to take a few minutes and pull off any hot glue strings that may have accumulated during the process. This will ensure that your ornaments look polished and clean when hanging on the tree.
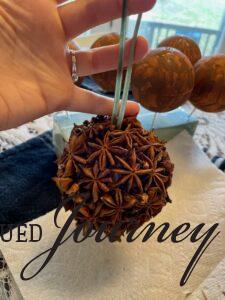
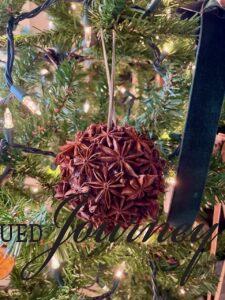
Here’s what mine looked like when finished.
Styling a Christmas Tree with Nature’s Beauty
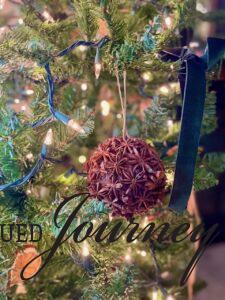
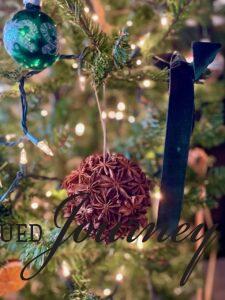
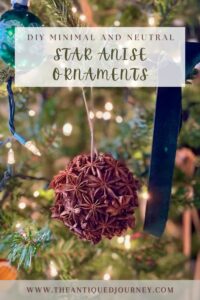
The finished star anise and clove ornaments are so pretty, aren’t they?! Each one is a little bit different and brings such lovely texture to the Christmas tree, not to mention a spicy, holiday aroma!
These DIY ornaments are a substantial size, perfect for filling in large gaps on a Christmas tree.
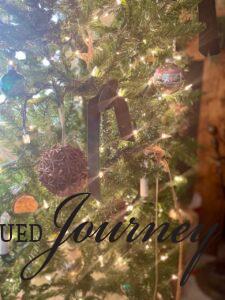
I ended up crafting three of these star anise ornaments to use on my tree! Since it’s an odd number, I placed one in the front and one on each side.
One thing to note about these ornaments is that they are very heavy. Given that, my advice would be to space them out evenly amongst your tree so that it doesn’t become top heavy.
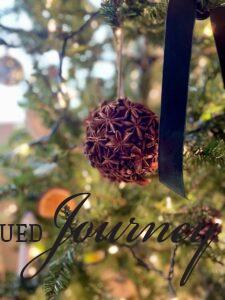
For a minimal and neutral Christmas tree aesthetic, try pairing these items with your star anise ornaments:
- velvet ribbon in green or brown
- vintage shiny brite ornaments
- dried orange or apple slices
- wood garland
- other natural looking ornaments such as pinecones or acorns
Benefits of Homemade Christmas Ornaments
There are many beautiful benefits to crafting your own holiday ornaments. Not only is it a unique and special way to decorate your holiday home but, in my opinion, is one of the best ways to take care of the environment.
Other amazing advantages include:
- budget-friendly and saves money on seasonal decor
- builds bonding time with family and friends
- sustainable and eco-friendly
- materials can be found inexpensively
- strengthens creativity
- keeps us from going to crowded shopping malls or stores and spending money on things we don’t need
- puts your energy towards something positive and constructive
- can give as gifts to loved ones
Natural Christmas Decorations: DIY Star Anise & Clove Ornaments
Questions About DIY Christmas Ornaments
Can Something Else Be Used for the Hanger Instead of Velvet Ribbon?
Yes! Don’t feel like you have to use velvet ribbon for the hanger. Other materials that could work include twine, rope, or even wire!
How Much Glue Is Used for DIY Ball Ornaments?
I used A LOT of hot glue. Like…way more than I’ve used on any other project ever. When it was all said and done, I went through eight hot glue gun sticks. So, make sure you have a stash of extra hot glue gun sticks ready to go!
How Many Star Anise Were Used Per Ball?
Great question! I hugely underestimated the amount of star anise needed to make three ornaments. I would say I used roughly 20-25 star anise per ornament. That might differ depending on the brand of star anise you buy…some are larger, some are smaller.
Why Use Natural Materials for Ornaments?
Using natural materials, such as spices, to create holiday ornaments is a sustainable and eco-friendly way to outfit your tree for the season.
Other positive purposes for incorporating natural materials on DIY ornaments include:
- using items found in nature fills your home with pleasant aromas
- it saves money and is cost-effective to create your own decor
- natural materials are bio-degradable, meaning they break down more easily than plastic, therefore reducing your impact on the Earth
- items found in nature offer rich and moody colors and palpable textures that can’t be found in mass-produced things
Closing Tidbits on Natural Christmas Decorations: DIY Star Anise & Clove Ornaments
With that, this wraps up the Christmas ornament tutorial. These DIY ornaments are the perfect way to add a touch of nature to your Christmas decor. They also make your home feel cozy and festive!
It is my true hope that you found encouragement here on crafting natural Christmas decorations using star anise and cloves. There is nothing better than using items from nature to decorate a home with, especially at the holidays.
Nature is no where near perfect but that’s what makes it so beautiful. This Christmas season, don’t let perfection stop you. Be encouraged to see the beauty in the imperfect, finding joy in the ‘good enough’.

I love to leave the door open for further discussions. Share your own DIY natural Christmas decorations with me and let’s spread the joy of a nature-inspired holiday season together!
Follow Along with The Antiqued Journey
Pinterest | Facebook | Instagram | LTK | Amazon
 PIN it to save it for later!
If you are new here, I’m Rachel, the writer and content creator here at The Antiqued Journey. I’m so happy to have you! I encourage you to stop by the ‘about me’ page to get to know me a little more.
Here on the blog, you will find loads of inspiration for decorating with vintage and antique decor, simple DIY crafts and many thrifting adventures. If that interests you, I invite you to sign up for my e-mail. You will receive a free digital download as a thank you!
Shop my Favorite Thrifting Supplies
Other Christmas Posts to Enjoy
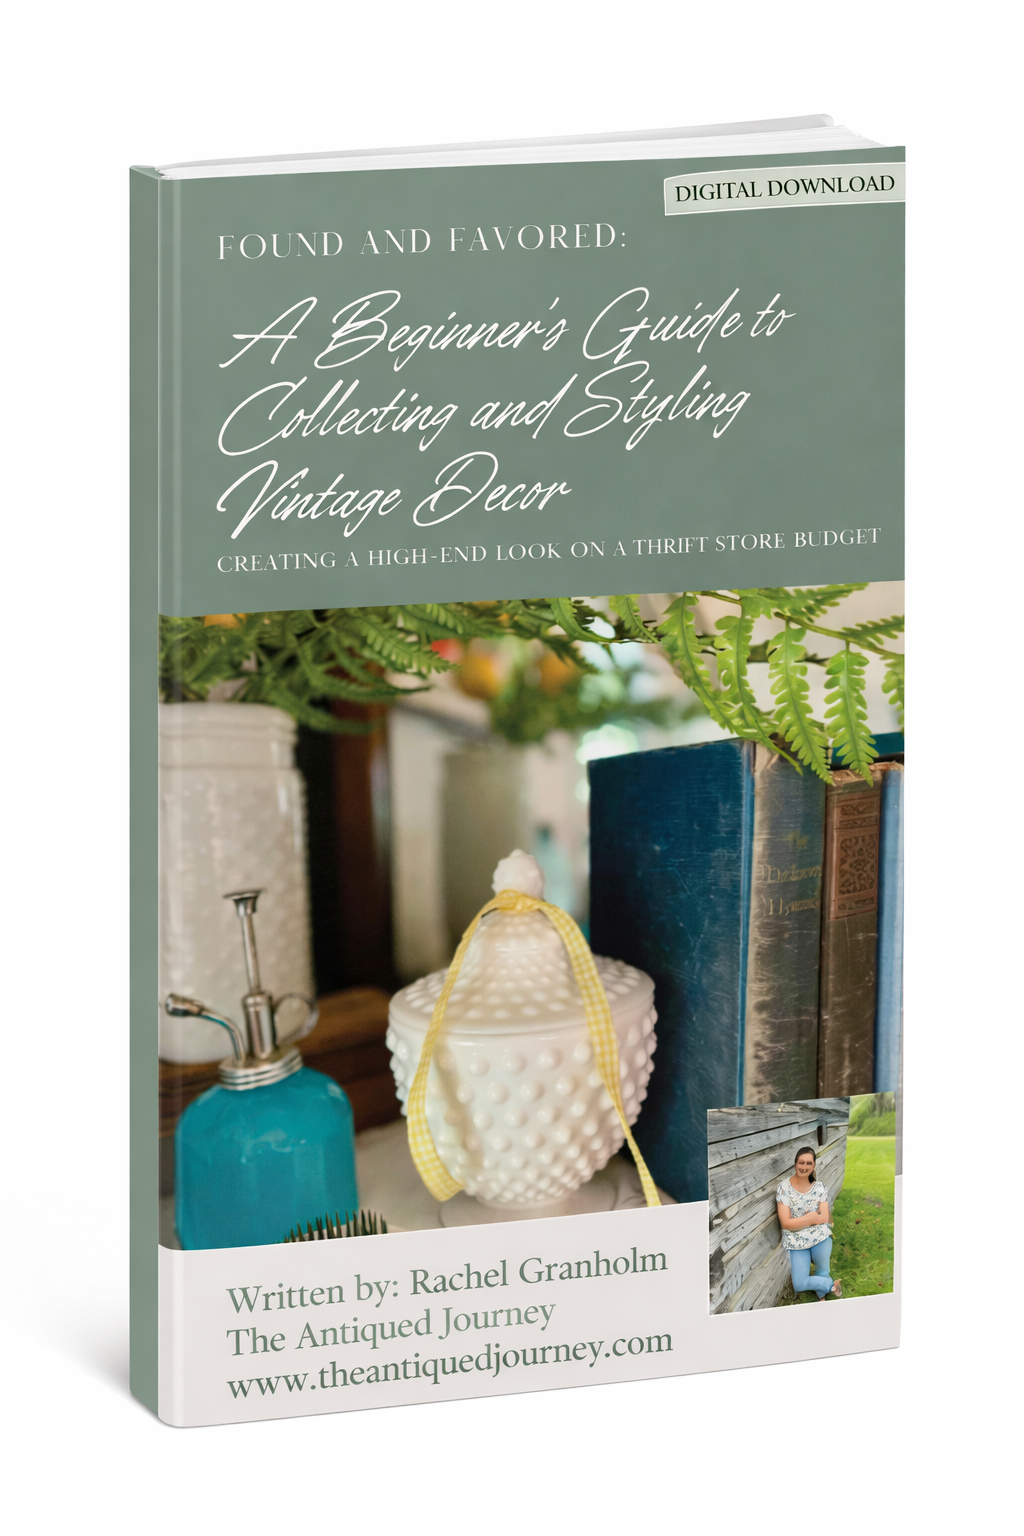
Want to decorate with vintage finds more confidently?
I created a beginner-friendly, 34-page digital guide to help you collect, identify, and style vintage decor with intention—without overspending.

Hey! I’m Rachel!
I’m so glad you are here! Old things are my jam. Antique malls and thrift stores are my happy places.
Here on the blog I love to share my excitement, knowledge, and ideas about all things antique, vintage, and thrifted. Let’s journey together!
Want to style vintage decor with confidence?
Get the beginner’s guide that will save you money and help you find real treasures.
Sign me up for the
Journey!
Sign up for free antique and vintage inspiration, DIY projects, and thrifting tips straight to your inbox.




13 Comments. Leave new
Rachel, these DIY ornaments are fabulous! I have never used star anise before, they have such a pretty shape! Great idea to use cloves as a filler! I bet they smell amazing! Thanks for the inspiration!
Thanks so much! They do smell wonderful 🙂 Star anise is such a pretty spice to use for holiday crafting!
Can’t wait to try these they will smell so good, thanks.
Oh, yay! I’m so glad! Yes..they smell amazing!
[…] I shared a brand new Christmas DIY! Learn how to make natural Christmas decorations in the form of star anise and clove ornaments. These not only smell heavenly but are a natural alternative to store bought tree […]
These ornaments are so pretty, Rachel, and I know they must smell amazing too. I love anything that smells like cloves. Can’t wait to try this and will share in an upcoming From the Front Porch. Big hugs, CoCo
Hello!
Thank you, CoCo! I appreciate it!! Hope you are well 🙂
[…] love the ornaments that Rachel of The Antiqued Journey made as well. I bet they smell […]
This is certainly easier than poking spices into oranges, I remember wearing bandages and thimbles to do the cloves…LOL. AND, these are so pretty and I imagine totally aromatic…Love all the natural ornaments shown this year, thanks for the easy idea…pinned, Sandi
Hi, Sandi!
Ha!! That’s hilarious! Thanks so much for the lovely comment. These were so fun to make and truly make my tree smell so good. Happy Christmas!
Hi Rachel- I love these ornaments and they smell SO GOOD!! In addition to being beautiful. Thank you for the tips on creating a natural environmentally friendly ornament. The world needs people like you!
Hello!
Thanks so much! I appreciate it! Merry Christmas!
[…] To go along with the natural theme and coordinate with the various brown hues, I also crafted three star anise and clove ball ornaments. […]